Mistakes To Avoid When Making A Gingerbread House
The holidays are an exciting and busy season — shopping for gifts, planning holiday parties and meals, and, of course, lots of baking. While leaving cookies out during Christmas is a tradition in many homes, others take things a step further and build and decorate their own gingerbread houses. This can be a fun activity for kids and adults. What's not to love about building something that's as delicious as it is adorable?
However, despite being a popular tradition around the holidays, building a gingerbread house is not always the easiest task. From crumbly or brittle cookies, sliding icing, uneven pieces that won't go together properly, and collapsing roofs, there's a lot that can get in the way of building something that lives up to your vision. Fortunately, if you learn how to avoid some of the most common mistakes that can lead to these and other issues, you'll find much greater success the next time you try to make a gingerbread house.
Under- or over-baking the gingerbread
The fate of your gingerbread house rests heavily on the consistency of the gingerbread itself. It's imperative to avoid either over- or underbaking it. If there ever was a time to play Goldilocks in the kitchen, this is it. If you remove the gingerbread from the oven before it has fully baked, it'll end up too doughy. While a soft gingerbread cookie might taste good, it won't stand up and support a decorated house. Your gingerbread house is certain to turn into a crumbly and broken mess.
However, if you leave the gingerbread in the oven for too long to avoid this prospect, you may end up introducing a new problem. Think about the last time you had an overbaked cookie. It was probably very brittle, not exactly the word you'd want to use to describe the structure of a house. While every oven varies, and the right cookie time will depend on the recipe you're using and just how thick the dough is, you can assess doneness by inspecting the appearance and feel of the gingerbread. You want it to feel firm without looking too dark. Consider baking your gingerbread cookies in a slightly cooler oven (around 325 degrees Fahrenheit) for a little longer than you normally would. This can help them come out perfectly firm and ready to build with.
Rolling the dough out to be too thick or too thin
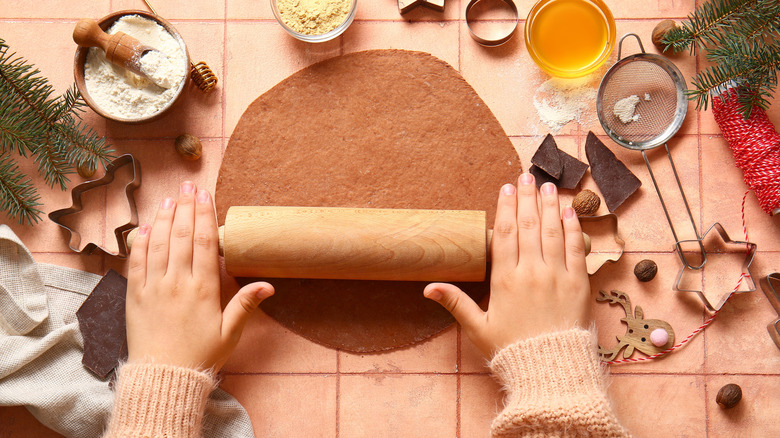
The thickness of your dough is equally important to ensure that your gingerbread house is structurally sound. As you can imagine, now is not the time to make paper-thin cookies. They won't stand a chance of staying up and supporting the weight of even a few pieces of candy. However, you mustn't go too far in the other direction and roll out your dough so that it is overly thick. When gingerbread dough is too thick, it may end up having more of a cake-y consistency on the inside. The edges of the dough will bake faster, fooling you into thinking everything is ready to remove from the oven. And, if you do end up giving the dough more time to cook, it is likely to end up burnt and brittle.
So, how thick should your dough be? Most bakers recommend rolling out the gingerbread to be about ¼ to ⅜ inches thick. This should be thick enough to help the house stay standing and support the candy you decorate it with — without being overly thick that the center turns out too crumbly or doughy.
Failing to chill the dough before cutting it
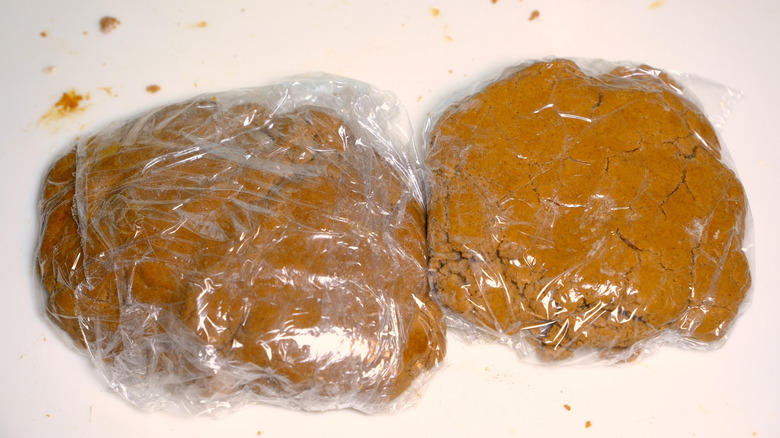
You should always chill your cookie dough. Skipping this step can have even more drastic repercussions when you're trying to make a gingerbread house. Freshly mixed dough will be too warm. When you roll it out and try to cut out the pieces for the house, they're almost certainly not going to come out as they should. Instead, you want to give your dough a minimum of two hours to chill in the fridge. This will help ensure you're able to roll it out with ease and that you'll be able to remove the cut pieces for the house without them losing their shape.
Because the dough needs to be chilled, it allows you to better split up the steps of making your gingerbread cookies. You can prepare the dough the day before you want to bake the cookies, if desired, so you aren't spending hours in the kitchen on the same day. Gingerbread dough can be made a few days before you plan to cook it, adding even more flexibility into your baking schedule. If desired, you can also wrap the dough in plastic wrap and freeze it for up to a month before defrosting it and baking the cookies.
Distorting the shape of the house pieces before baking
If the pieces for the sides and the roof of your gingerbread house get deformed before they are even baked, is there really any hope that the finished house will go together properly or look even halfway decent? While chilling the dough is an important measure to take to avoid misshaping the dough, it is not the only thing you should do to ensure success.
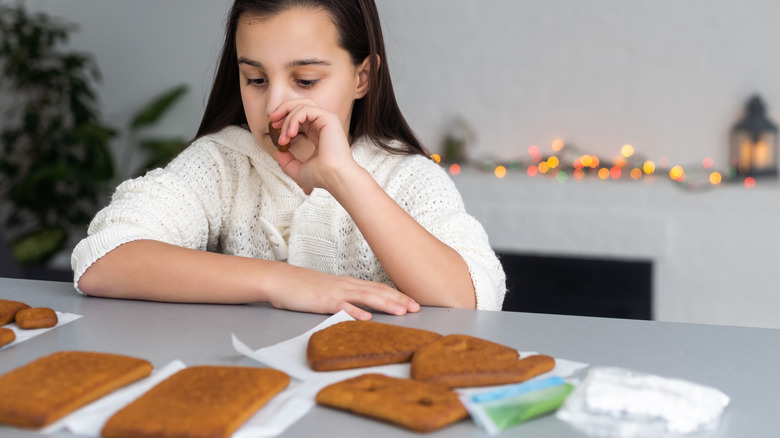
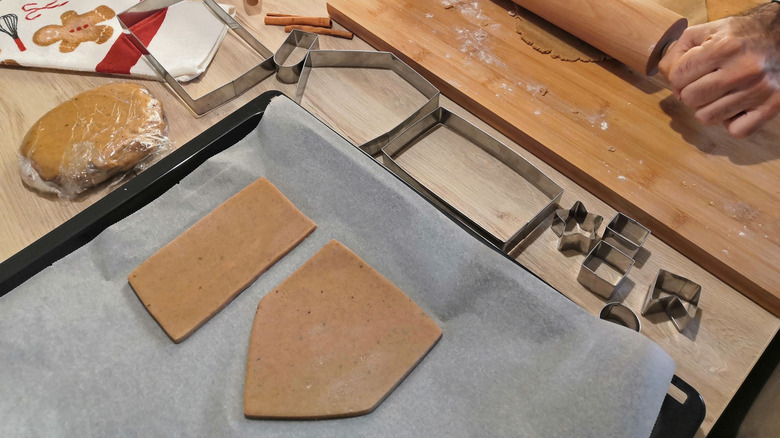
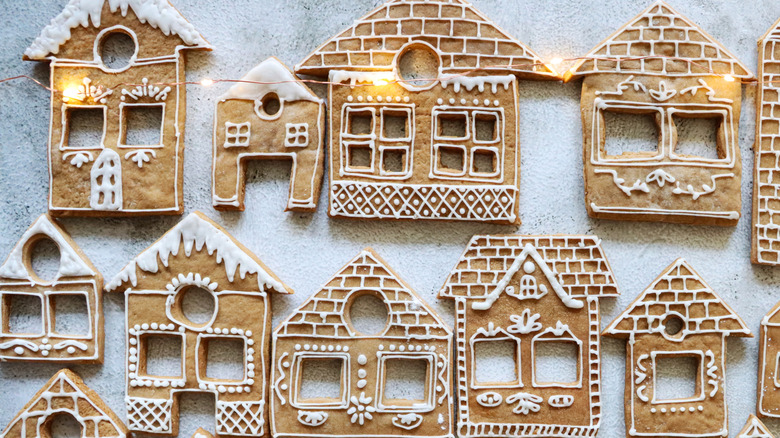
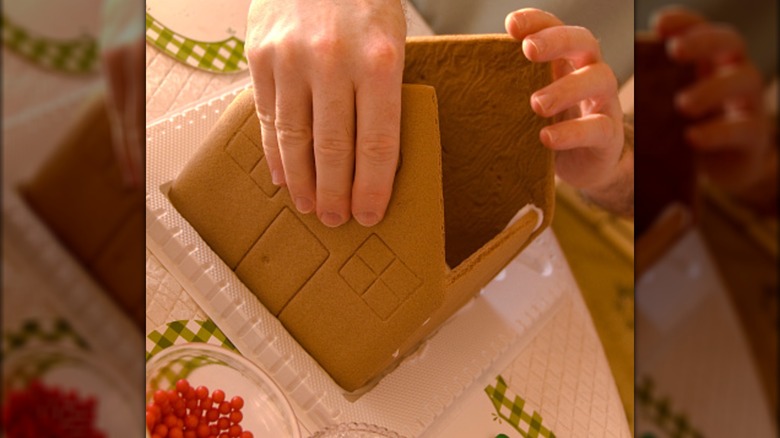
To start, make sure that you're evenly cutting the pieces. The sides of the house, for example, must be the same height. Otherwise, the roof won't sit properly and you'll have a very difficult time giving it the support that it needs. To avoid this, use cookie cutters or a gingerbread house template and be very careful when cutting the pieces.
Once you've used a cookie cutter on the dough, there will be excess dough between each piece. Don't make the mistake of trying to remove the pieces you want. Doing so increases the likelihood that you'll inadvertently stretch something out or break a piece off. Instead, carefully remove the excess dough. If you cut over a piece of parchment paper, you can simply transfer the parchment paper to your baking sheet to help prevent anything from getting distorted during the process.
Failing to verify and adjust size and evenness after baking
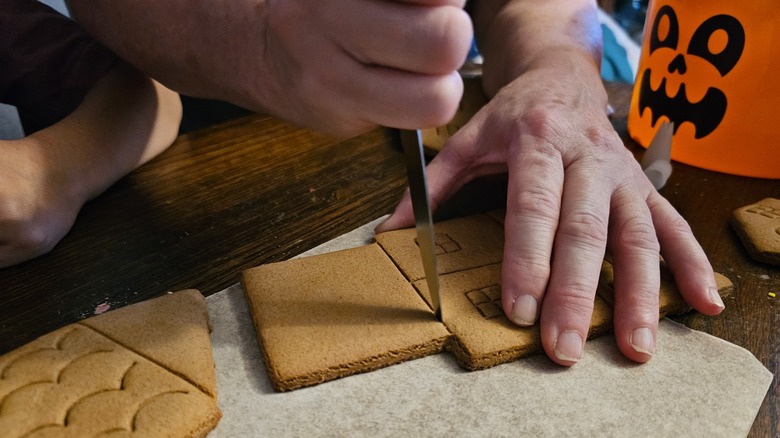
Even if you are careful to avoid distorting the gingerbread cookies before you put them in the oven, they may not come out 100% even. Before you start assembling the house, be sure to verify all of the pieces are still even. If some baked weirdly and have any peaks or divots, you'll want to very carefully trim them. Uneven surfaces will make it less likely that the icing will keep the various sections of the house secured to one another.
The best time to trim the gingerbread cookies is shortly after they've come out of the oven. If you wait until they are fully cool, the gingerbread will have hardened too much, and you'll be running the risk of cracking the cookies. To trim the cookies, work carefully using a sharp knife. Line the knife up to ensure you cut straight lines — this will help avoid any further problems.
Making the wrong type of icing
Icing is the glue that holds a gingerbread house together. If it isn't strong enough, the house won't stand a chance. So, while there are ways to upgrade canned frosting, this isn't one of the best times to experiment with different enhancements. Similarly, you also won't want to whip up a batch of buttercream frosting for this task. As delicious as it is, buttercream frosting isn't suited to building a gingerbread house. It isn't thick or strong enough to keep the sides and roof of the house attached to one another. Plus, it has such a high fat content (think: butter), that even if you were to get the house to stay together, it probably wouldn't stay that way for long. Over time, the butter will start to release into the cookies, softening them, and increasing the chances that the house will crumble.
Royal icing is typically seen as the gold standard when it comes to gingerbread house construction. It dries relatively quickly into a solid and sturdy glue that will help keep the pieces of the house from falling apart. It will also help secure candy and other decorations to the sides and roof of the house. Royal icing only requires three ingredients (powdered sugar, egg whites, and cream of tartar), so whipping up a batch shouldn't be too involved.
Making the icing too thick or too runny
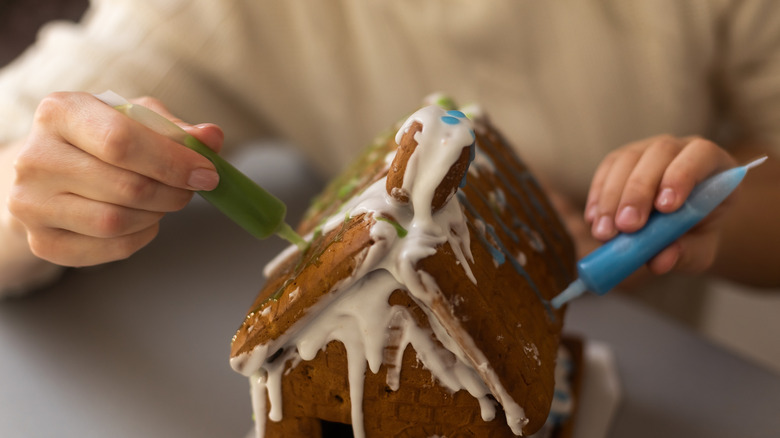
Not only is it important to make the right type of icing for gingerbread house construction, it's essential to make sure the icing has the right consistency. If your royal icing is too thin, it will slide down the sides of the gingerbread house, preventing them from sticking together. If it is too thick, then it will clump up and you won't be able to spread it evenly, which will also interfere with getting all the pieces to adhere properly.
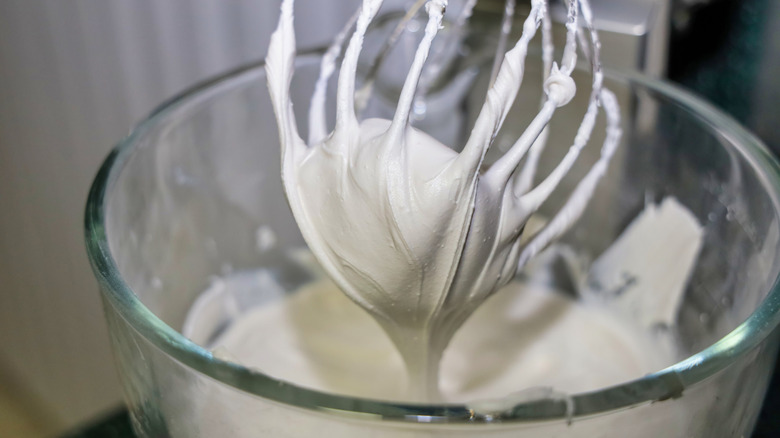
There are a few things you can do to ensure the icing has the ideal consistency before you start using it to decorate your house. First, it's crucial you do not accidentally get yolk into the mix. You must only use egg whites, otherwise the yolk can prevent the icing from thickening and setting as it should. Next, you must not over beat the icing. Once all of the ingredients are incorporated, beat it on high speed with your mixer for only about two minutes.
You'll know it's ready when it has a glue-like consistency. You want the icing to be pretty thick, but not so thick that you won't be able to apply it to the house using a piping bag. If the icing is too runny after mixing — you know, sliding off a spoon — then you can slowly mix in a little extra powdered sugar until it thickens up. If for some reason it's too thick, go ahead and thin it with water. However, take care to only add in a very small amount of water; it won't take much and you don't want to end up making it overly thin.
Waiting to decorate the sides of the house and roof until after assembling the house
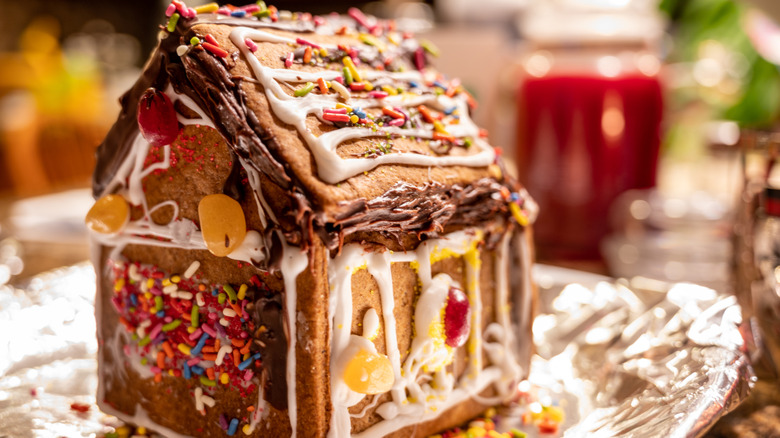
Most people assemble their gingerbread house and then decorate the sides and roof. However, doing so can actually set you up for failure. If you wait to decorate until after the house is assembled, you may inadvertently place too much pressure on one of the pieces and cause everything to collapse. Plus, it can be much more challenging to neatly decorate the sides of the house if they're already standing up.
The next time you make a gingerbread house, try decorating the sides and roof before you put the whole thing together. You'll have better control as you work and you won't need to worry about adding too much extra weight once you've already secured the pieces together. There is one important thing to note, however. After decorating all the pieces, you must give everything time to set and dry — aim for a minimum of two hours, but even longer would be better. Otherwise, when you stand the sides up to put the house together, the icing or decorations may slide down, leaving you with a disappointing mess.
Skipping the step of icing the base
When real homes are built, a sturdy foundation is essential — without a solid foundation, the house may shift, crack, or even collapse. Well, building a gingerbread house is no different. To create a sturdy foundation for the house, you must not forget to ice the base. The base is the solid surface over which you're building the house — perhaps it's a piece of cardboard, a styrofoam tray, or serving dish.
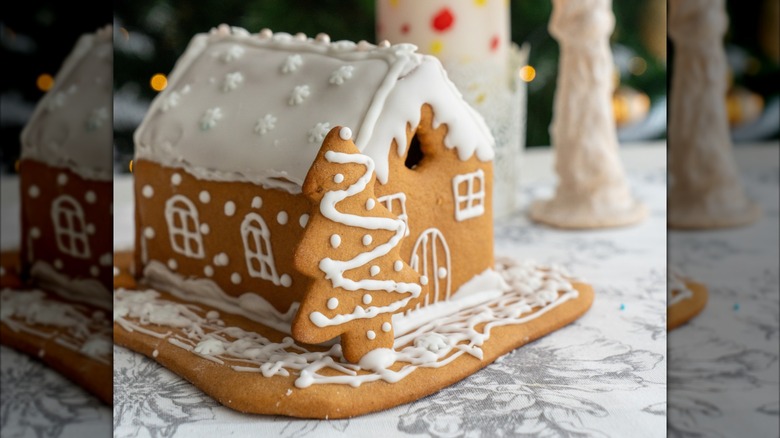
Before attempting to put up any of the pieces of the house, spread a layer of icing all over the base. This will provide the necessary support to ensure all the walls stay standing and that they're able to hold up the weight of the roof. Plus, since the icing is white, it can enhance the finished appearance of your house, making it look like it has just snowed in Winter Wonderland.
Starting to decorate without having a plan
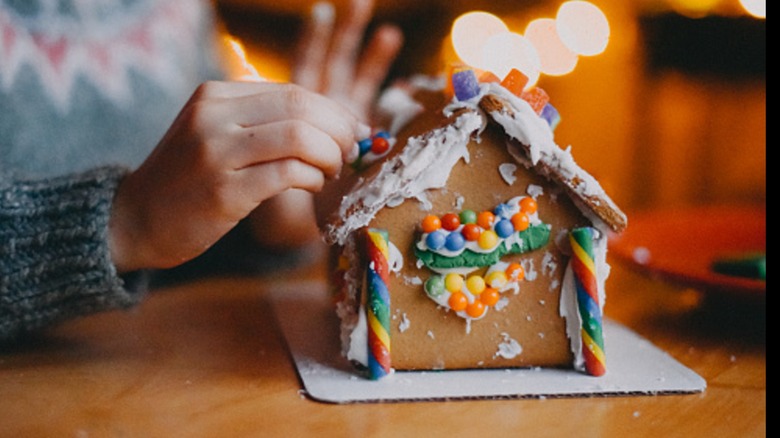
You wouldn't want an architect to just slap up windows, sidings, and other design elements on your home without purposefully planning out where they should go, would you? Well, you too should make a plan before you start decorating your gingerbread house if you want it to look great once you're finished building it. Think about which pieces of candy you want to use for the various design elements. Then, make sure you have enough to fulfill that vision. You don't want to create a pattern on the roof with red and green gumdrops, for instance, only to run out and end up with a blank spot or a glaring misplaced color.
The other reason it's important to have a plan before you start decorating is because the icing sets quickly. If you start without a plan, it may become too hard by the time you decide which pieces of candy you want to set on a specific section of the house. So take a little time to develop your decoration plan — you'll be happy you did.
Over-decorating the roof
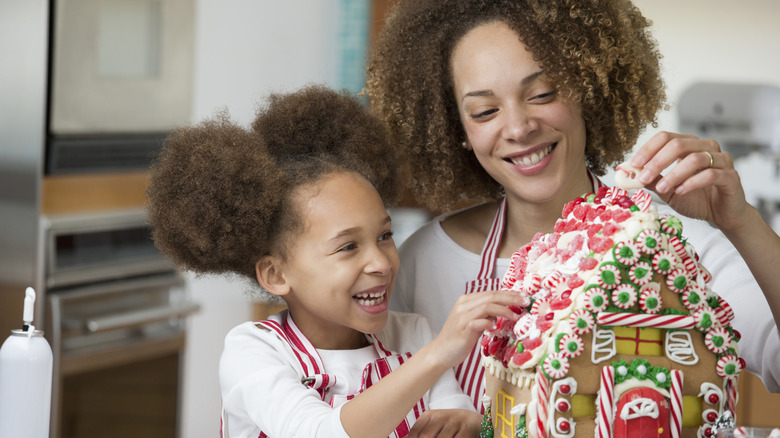
As you're planning the design for your gingerbread house, you must think about more than just aesthetics. Over-decorating the roof can be a serious mishap — and not just because it might make your house look strange. While a single piece of candy might not feel that heavy, the weight of multiple pieces adds up quickly. If you make the roof too heavy, it's possible the whole house will end up collapsing. Save some of that extra candy to make customizable holiday bark instead of piling it all up on the roof.
Similarly, using too much icing will also contribute to the overall weight of the roof. While you need some icing to help the candies stay in place, it typically takes less than you might think. If you're decorating the roof before assembling the house and giving the candy time to set, a small dollop for each piece should be sufficient.
Thinking that storing the house in the fridge will help it last longer
So, you've managed to make a gorgeous gingerbread house without the cookie pieces crumbling, the decorations looking sloppy, or the roof caving in. Now, your top priority is to preserve the house and keep it looking its best throughout the holiday season. Your first instinct may be to put it in the refrigerator. After all, the fridge is what keeps food fresh, right?
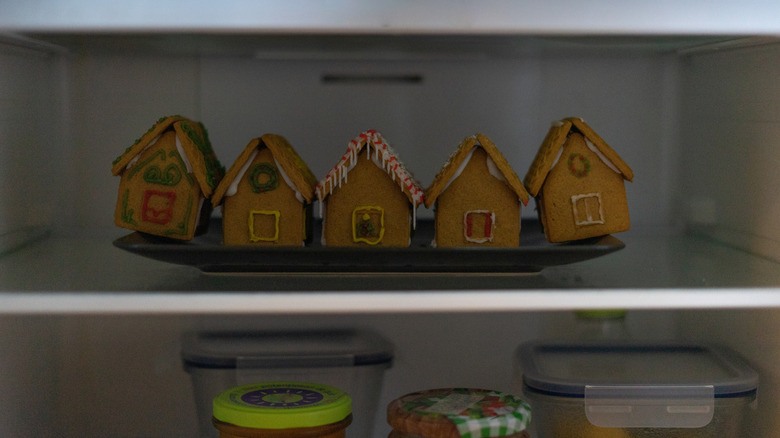
However, a gingerbread house is one of these unexpected foods that you don't need to refrigerate. In fact, you shouldn't refrigerate the house. If you put your gingerbread house in the fridge, the cookie pieces may soften. As you might guess, a soft cookie isn't going to continue standing or supporting the weight of the roof — and this, of course, can cause the house to crumble. Instead, opt to leave the gingerbread house at room temperature. The cookies and icing will remain hard and crisp, which is what you want to prevent anything from falling apart.
Not considering using glue to hold the pieces together if you don't plan to eat the house
Sometimes, we make a gingerbread house with the intention of eating it after the fact. Other times, however, we're only making the house to use as a centerpiece or as decoration for the holidays. If you aren't planning to eat the house, you can help ensure it stays standing by using something a little stronger than royal icing to secure the pieces. Instead, try using a hot glue gun to assemble the house.
The glue will not only deliver a sturdier hold, but it will also dry more quickly. This will cut down on how long you'll wait to let the pieces of the house (and decorations) set before moving to the next step. If you're planning to transport the house, using glue will also help ensure it gets there in one piece.
Those who still want to eat their house can consider an alternative to royal icing for assembling the house. Some find that sugar is superior to frosting when building gingerbread homes. Bring a few cups of sugar to a boil in a large pot. Then very carefully dip the edges of the house in the hot sugar and hold them in place. Ask someone to help you assemble the house; the sugar cools and dries much more quickly than frosting, so you'll only have a few seconds to get everything lined up and in place. After lining it up, hold the cookies in place for about 10 seconds, and they should be set. Just remember, hot sugar can cause burns, so be sure to wear gloves to protect your skin.
