The Mistakes Everyone Makes When Cooking Green Beans Laid Out By Expert Chefs
We may receive a commission on purchases made from links.
When it comes to green beans, many people wrinkle their noses at the thought of soggy, olive-colored veggies taking up space on their Thanksgiving plate. However, green beans get a bad reputation purely because of the way they're cooked. Categorized as fresh legumes – meaning they can be consumed straight from the plant without being dried and rehydrated first like pulses — green beans are surprisingly versatile and can be prepared in a variety of ways.
With a little bit of culinary know-how, you can enjoy green beans as a crunchy, salty snack — think NYC's iconic green beans in a bag that went viral on TikTok –, as a crisp addition to your salad or as a succulent side with your meat and potatoes. So, how can you up your green bean game and squeeze more veggies into your diet? We spoke to three experts to get their take on this underrated legume and reveal the most common mistakes people make when cooking green beans.
1. Not trimming your beans
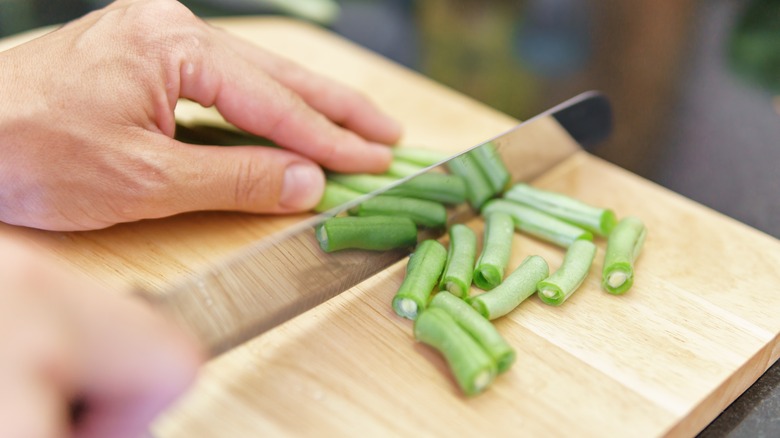
According to Chef Tris Revill, Founding Tour Guide at Eat Like The French, trimming your green beans properly is the first important step to successfully using them in any recipe. Revill explains that "no one wants to be eating a bit of stalk or picking bits of green bean string out of their teeth [so] this is all about improving the texture and mouthfeel of your green bean."
Luckily, trimming green beans is quick and easy to do. Simply spread your beans out on a chopping board and bunch a small handful together so that all the stalks are pointing the same way and you have a roughly uniform line to cut along. You can then use a large, sharp knife to trim the ends of each bunch, taking off all the stalks at once. Try not to cut too far along the beans so you don't waste any and cook them immediately after trimming to prevent the ends from shriveling up.
Some grocery stores also sell packs of pre-trimmed green beans. However, you'll often find that pre-trimmed beans don't last as long as beans with stalks and that the ends may even be slightly dried or shriveled inside the packaging. For best quality results, taking a little bit of time to trim green beans yourself will pay off in terms of flavor and appearance.
2. Using canned green beans
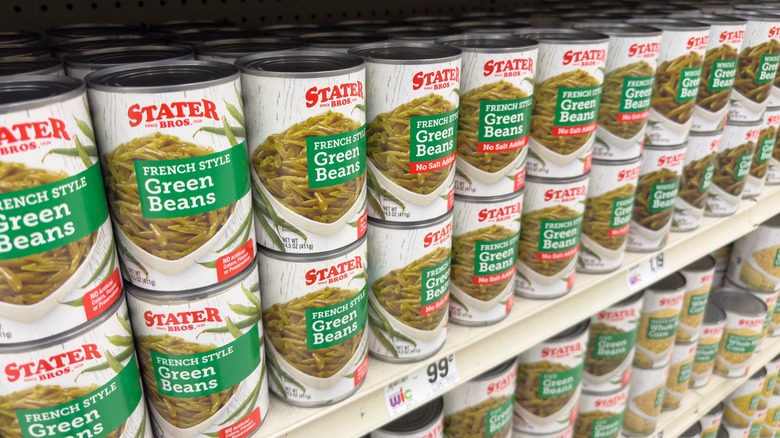
While there are plenty of great uses for canned veggies and tons of creative ways you can give canned fruit new life, Tris Revill observes that green beans are generally best eaten fresh. "Canned green beans lose their flavor compared to fresh green beans," Revill states, meaning that substituting canned green beans for fresh will ultimately leave you with a lackluster dish. Canned green beans are preserved in briny water, which softens them and means you'll never get the snappy crunch associated with a fresh green bean. They also tend to have a much duller color and quickly turn to mush when cooked.
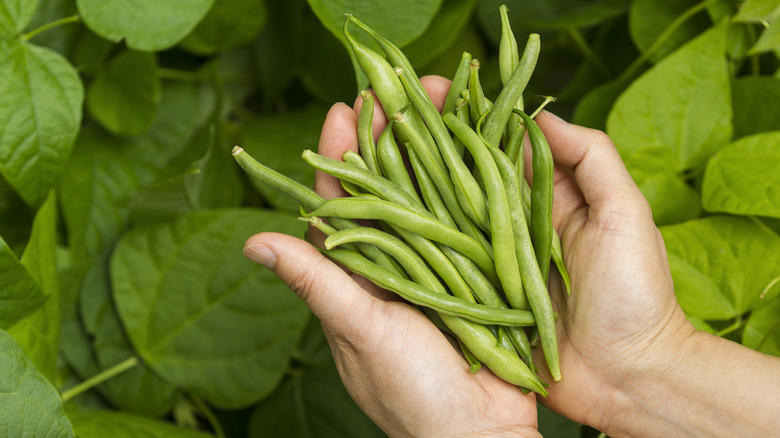
Fresh green beans will also pack the most punch in terms of flavor if you buy them in season. Green beans have a long summer season and grow from roughly May to October, giving you plenty of opportunities to sample them at their best. If you're shopping for loose green beans, make sure that they have a bright green hue and are not rubbery or soft.
3. Forgetting to blanch and shock your beans
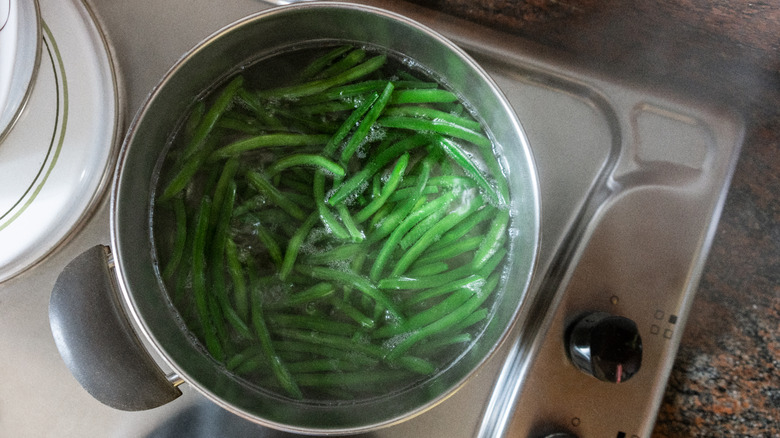
The blanch-then-shock method is a tried and true preparation to get the best out of your green beans. This means that, before you fry your beans in butter or toss them in a stir fry, you quickly par-boil — or blanch them — in salted water and then submerge them in iced water to shock them. Blanching your beans tenderizes them while still maintaining crunch and texture and also allows some of the salt to penetrate the skins, adding flavor and retaining nutrients. To properly blanch your beans before pan-frying, add them to a pot of boiling water and let them cook for around 2 to 5 minutes before draining them and dunking them into a pre-prepared ice bath.
Tris Revill notes that one of the major advantages of shocking your beans after blanching is that "it will ensure you are able to stop the cooking at exactly the moment you want to." This prevents the residual heat in the beans from oversoftening them while you plate them or while you prep the next stage of the cooking process. Blanching and shocking your green beans also helps maintain their appealing emerald color. The process deactivates enzymes in the beans which causes deterioration of color and nutrients.
4. Avoiding the freezer
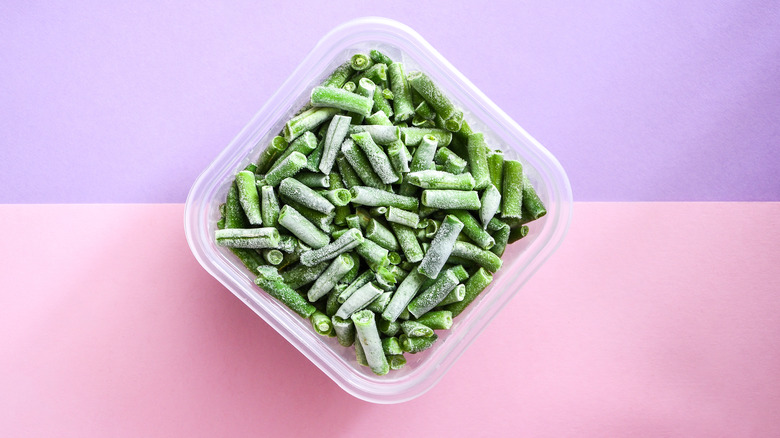
We've all been there — hastily bought too many vegetables without planning our meals for the week, and now there's a sad packet of green beans slowly wilting in the fridge. Fresh green beans have a relatively short shelf life, meaning you'll want to eat them within seven days to catch them at their best. Freezing your beans can significantly lengthen their storage life and give you a handy veg option to throw into a soup or a casserole when winter rolls around.
So, can you pop fresh green beans straight in the freeze? Tris Revill recommends freezing "after [cooking rather] than before to keep the taste and texture of your green beans." The best way to do this is to blanch and shock your beans to retain their color and freshness and then seal them in an air-tight freezer bag to store in your ice box. Although some people balk at the idea of freezing vegetables, frozen greens are just as nutritious as fresh ones as the freezing process does not affect nutrient levels and can even protect against nutrient loss.
5. Not covering your beans while cooking
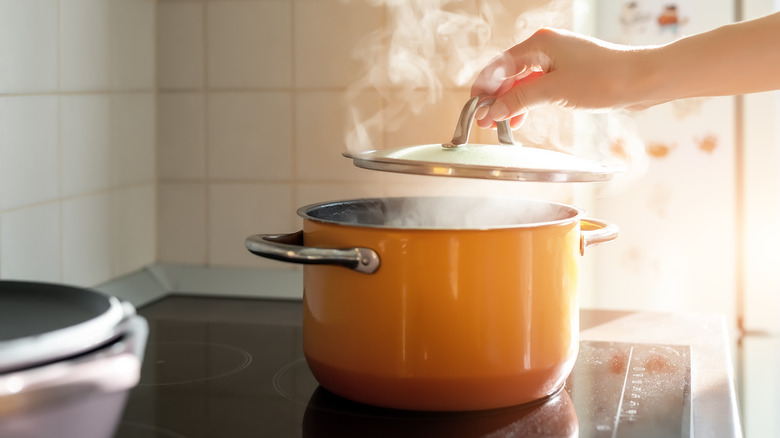
When it comes to blanching, steaming, or frying your green beans, Tris Revill suggests leaving the pot lid on to keep the heat high and ensure your beans cook quickly. Revill explains, "the slower you cook the green bean, the more the chlorophyll in the green bean degrades and you lose the greenness of the bean." This can be a problem if your water isn't fully boiling or your frying pan isn't hot enough when you add the beans as you may have to extend the cooking time to get them fully tender. Leaving the lid on your pot ensures that your pan won't lose heat or drop off the boil, saves energy and prevents excess steam.
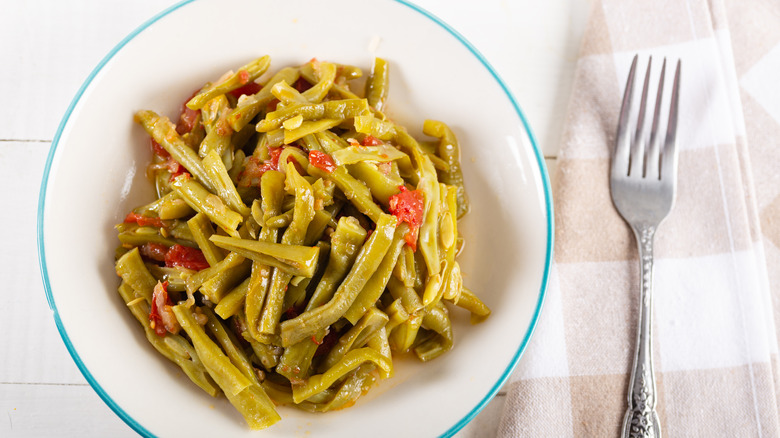
For certain green bean preparations, slow cooking with the lid on is also optimal. Jackie Newgent, registered dietician, plant-forward chef, and author of The Plant-Based Diabetes Cookbook, notes that one of her favorite "green bean dishes is loubieh bi zeit, a Lebanese stew featuring green beans, tomatoes, onions, garlic, and olive oil. It's a recipe where the green beans are meant to be super tender and olive-colored." Cooking green beans in a stew with the lid on will allow acids in the cooked beans to collect in the pot, breaking down the chlorophyll and changing the bean color to an earthy olive while tenderizing the beans.
6. Overcooking or undercooking your beans
One of the most common mistakes people make when cooking green beans is walking away from the pot, returning to a soggy, tasteless mess. Jackie Newgent notes that there is a simple solution to this problem — "set a timer or ask Alexa to remind you to check on green beans while cooking so they don't become mushy and drab." Overboiling is a key problem when you're trying to blanch your beans, as you want them to retain their bite for future frying or freezing. However, you can also accidentally blacken beans when pan-frying them or roasting them in the oven.
Remember, once blanched, green beans are already good to eat so you don't need to give them much extra time on the heat. Frying your beans for just a few minutes is enough to give them a nice char, add some smoky heat, or incorporate any seasonings. If you want to make roast green beans, Newgent suggests lightly coating them with oil and setting your oven to around 425 degrees Fahrenheit. You can even add a sprinkle of cornstarch, a baking ingredient that makes roasted vegetables extra crispy.
On the flipside, you don't want to tuck into a plate of undercooked green beans either. Raw green beans contain a protein called lectin, which can cause digestive issues if eaten in large amounts. Carefully managing your cooking times and tasting green beans before serving can help you get the balance right.
7. Going salt-free
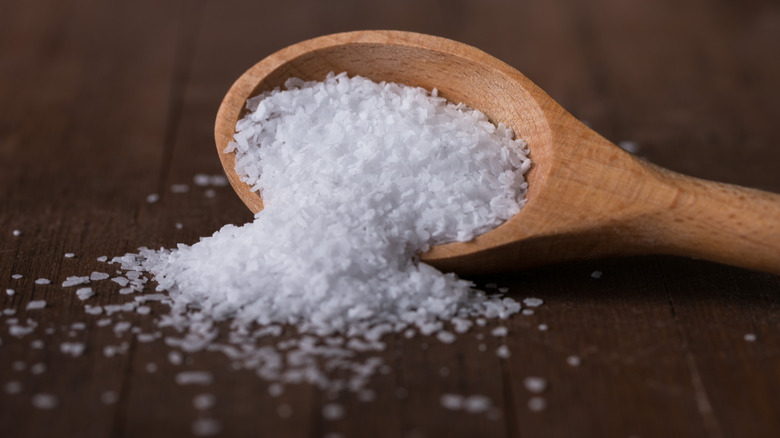
Eating too much sodium can be a problem, but salt is a crucial flavor enhancer when it comes to seasoning vegetables. If you've ever sat down to watery green beans, you'll know how much a lack of salt can stand out. Forgetting to add salt to your blanching water can lead to flavorless boiled beans, while neglecting to salt pan-fried green beans can lead to an underwhelming meal. When salting the water to blanch your beans, you can be surprisingly generous, even using as much as a quarter of a cup of salt.
For pan-frying green beans, Jackie Newgent also suggests "the addition of salt — generally at the end of cooking — to get the most full-flavored experience. Alternatively, [you can] use ingredients with plenty of sodium, like soy sauce or coconut aminos." Green beans already contain a small amount of sodium — around 0.6 milligrams per a 100 grams serving – so salt enhances the existing flavor profile while complementing the fresh, mild taste. Meanwhile, the snappy, crunchy texture combined with salty flavors can give green beans a morish, fast-food feel.
8. Not seasoning your beans
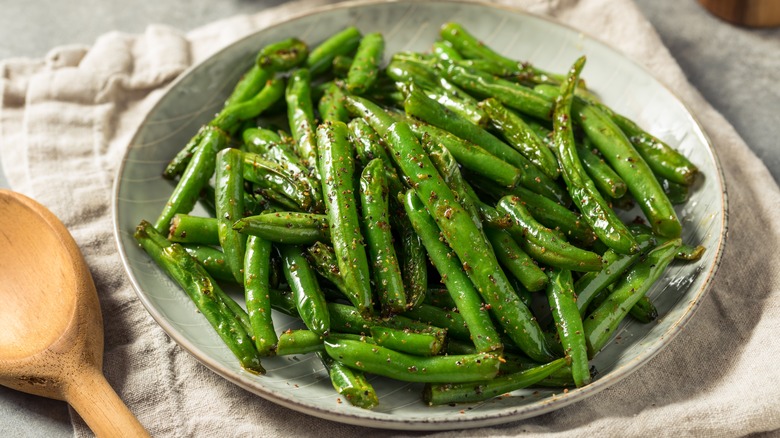
Just like failing to add salt is a big no-no when cooking green beans, under seasoning can also lead to boring veggies. Fortunately, green beans have a fairly neutral, savory palette, meaning they pair well with strong flavors, like garlic or citrus, and with briny flavors, like olives and anchovies. While big, hot flavors may overpower green beans, smoky spices like paprika or chili powder can add depth. If you're looking for a tangy ingredient to jazz up your tuna salad, mix some diced green beans and red onions with sweet pickle relish to add crunch and zesty flavors to a tuna sandwich.
Leslie Durso, a vegan chef and wellness expert, notes that simple, classic preparations often work best with green beans. She "likes serving them with freshly chopped herbs like dill or basil, a squeeze of lemon juice, and toasted almonds." A big sprinkle of cracked black pepper is also a good idea.
9. Cooking without fat
One mistake that people often make when cooking vegetables is assuming that, because veggies are healthy, they should be prepared fat-free. However, if you want to enhance the flavor of plain green beans, Leslie Durso recommends cooking them in fat, either raw or after a quick blanching. Durso notes that "fat/oil is one of the three flavor conductors, so of course, it is going to bring out more flavor in your green beans. My favorite simple way of cooking green beans is to toss them with a drizzle of extra virgin olive oil and a pinch of garlic powder."
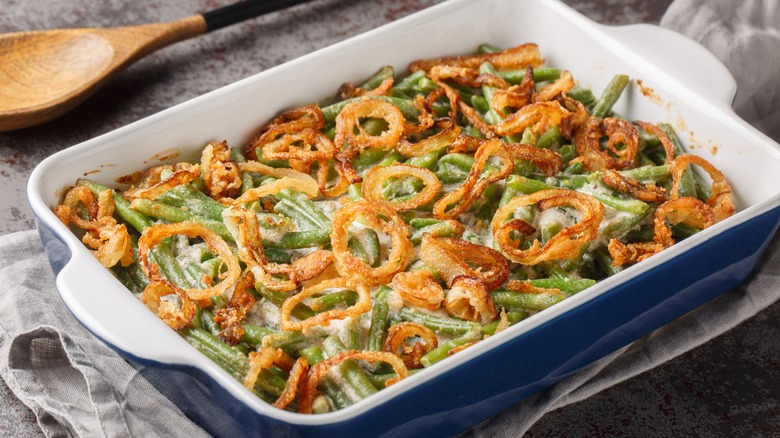
You can also pan-fry green beans in butter or use other refined oils, such as avocado or canola, to give you a moist, snappy finish. Green beans also stand up well in creamy recipes, such as a traditional green bean casserole made with cream of mushroom soup or a cheesy green bean au gratin.
10. Always serving green beans hot
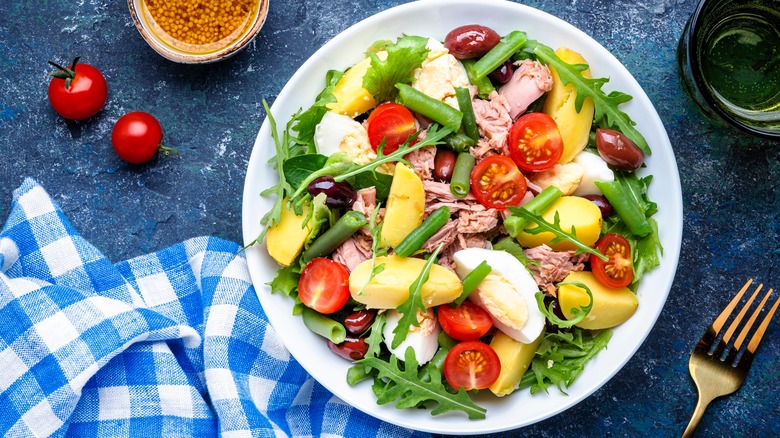
While undercooked green beans aren't ideal to eat, you can enjoy green beans that are close to raw and have only been lightly fried or parboiled. Chilled green beans are a delicious addition to a fresh salad or cold summer spread. Friendly reminder — if you include green beans in a salad with proteins, like hard-boiled eggs or cold meats, you should keep the dish cool if it's out on the table for a long time and store any leftovers in the fridge. This way you can hopefully avoid some of the common food safety mistakes that could ruin a summer BBQ.
Jackie Newgent is a huge fan of cold green beans in salads. Her favorite preparation is a "blanched green bean salad topped with cherry tomatoes and sprinkled with a lemony-tahini dressing, plant-based "feta," fresh mint, and toasted pine nuts or sliced almonds." The fats in the nuts and seeds help bring out the clean flavors in the beans and add some richness to a salad dish. You can store chilled green beans in the fridge for around 3-5 days.
11. Neglecting the air fryer
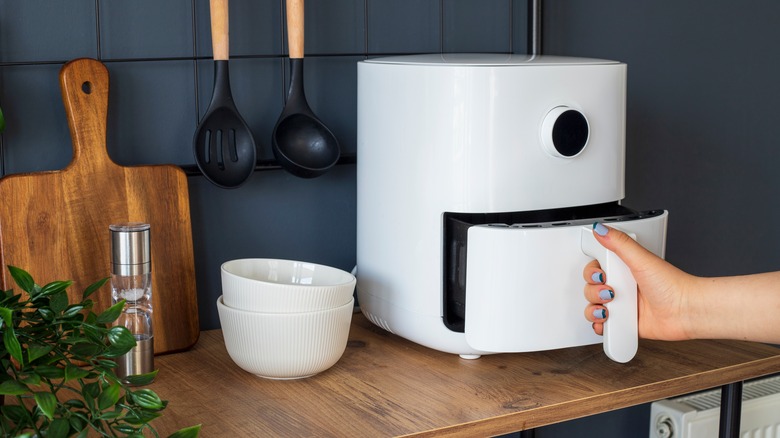
The oven, the pot, and the pan are all perfectly respectable ways to cook green beans. However, Leslie Durso reminds us that there is another excellent way to prepare these tasty legumes — the air fryer. The vegan chef explains that cooking green beans in your air fryer couldn't be easier. You can "prep them the same way you would for the oven, but place them in the air fryer — as always, the key to good air frying is not to crowd your food so don't overload the basket."
Durso suggests setting your air fryer at about 400 degrees Fahrenheit to get the perfect texture and leaving the beans to cook for around 6-8 minutes. Give them a quick shake at the halfway point to ensure that the beans cook evenly and prepare to enjoy a delicious, no-frills veggie dish. If you've got some leftovers from the day before, you can reheat your green beans in the air fryer for a delectable crunch.
12. Forgetting about the microwave
If you want a quick and easy green bean preparation that's low on effort and high in nutrients, Tris Revill recommends cooking your beans in the microwave. Giving green beans a short blitz in the microwave is another way to steam them, but instead of using a pot and a plate, you only need one dish. Perfect if you hate washing up. Revill explains that one of the benefits of microwaving green beans — aside from saving on dishes — is that it "will keep them the greenest [and that] it retains the most vitamin C during the cooking process."
Green beans are naturally high in water-soluble nutrients, like vitamin C and folate. However, some of these nutrients are lost during cooking processes, like boiling or draining. Microwaving allows green beans to cook in their own juices, preserving vitamins that would otherwise seep out through the skin.
Revill adds that green beans only need 2-3 minutes in the microwave. You can then let them sit for another few minutes to finish steaming.