Mistakes Everyone Makes When Baking A Cake
There are many occasions that call for cake: birthday celebrations, graduations, bridal showers, and baby showers, just to name a few. Baking your own cake can make the celebration even more special — unless the cake you make doesn't turn out as expected and your guests don't enjoy it, or you're too embarrassed to even serve it to them.
Believe it or not, there are several cake-baking mistakes that many people make. So, if you've ever had a cake not turn out the way you wanted it to, you're not alone. Learning more about these mistakes and what you can do to avoid them can help prevent cracked cakes, cakes that don't rise, cakes that are overly dry, cakes with frosting that looks sloppy, and various other problems. If you're ready to get on top of your cake-baking game, you've come to the right place. Read on to learn how to avoid some of the most common mistakes to ensure your creations are the star of your next celebration.
Starting before reading the recipe through

One of the biggest mistakes people make when following a recipe is not reading it through all the way before starting. Baking a cake is no different; reading the recipe — start to finish — is essential before you even start gathering ingredients or baking supplies. If you don't read the ingredient list and step-by-step directions carefully, you may overlook something very important. For example, some cake recipes may call for you to refrigerate the batter before baking, pull certain ingredients out to soften ahead of time, or something else along these lines.
Failing to read the recipe ahead of time could leave you in a tight spot. If you get to a step in the recipe that calls for letting ingredients chill in the refrigerator for several hours or taking other ingredients out to soften, it will throw off your timing. This means that your cake won't be done when you were expecting, which could be a problem if you need it for a certain time or a special event. Reading through a recipe only takes a few minutes, but it is definitely not a step you'll want to skip.
Not double-checking that you have all the ingredients
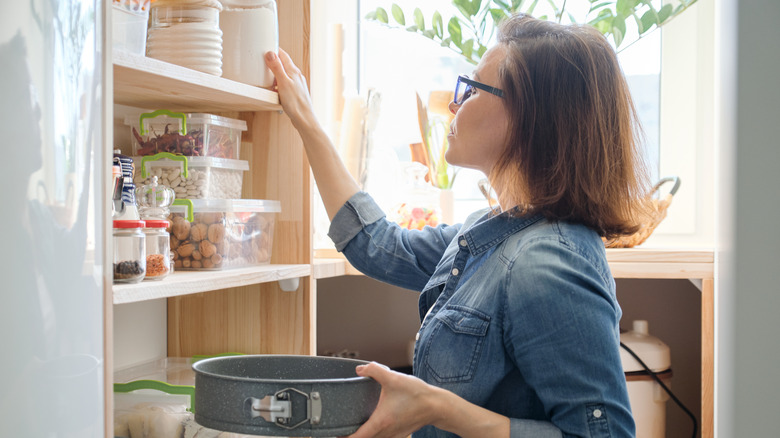
Another mistake that could have dire consequences is not double-checking that you have all of the required ingredients before you start making the cake. Obviously, leaving out an ingredient will prevent the cake from turning out correctly. And while you could run to the grocery store in the middle of preparing the recipe, there are several reasons why this will be less than ideal. First, who wants to stop in the middle of what they're doing to head to the store, even if it is only a few minutes away? If you're already on a tight timeline to get the cake ready, you may simply not have the time to spare for a grocery run.
Stopping in the middle of what you're doing to grab a missing ingredient also could mess up how your cake turns out. Leaving some other ingredients out too long could impact their texture. If the ingredient you're purchasing was supposed to come to room temperature before adding it, you'll have to wait even longer or risk further ruining your cake. The few minutes it will take you to cross-check the ingredient list with what is in your fridge and pantry will be well worth it. When you're ready to start baking, pull everything out and double-check one final time before you start mixing any ingredients.
Adding ingredients straight from the fridge
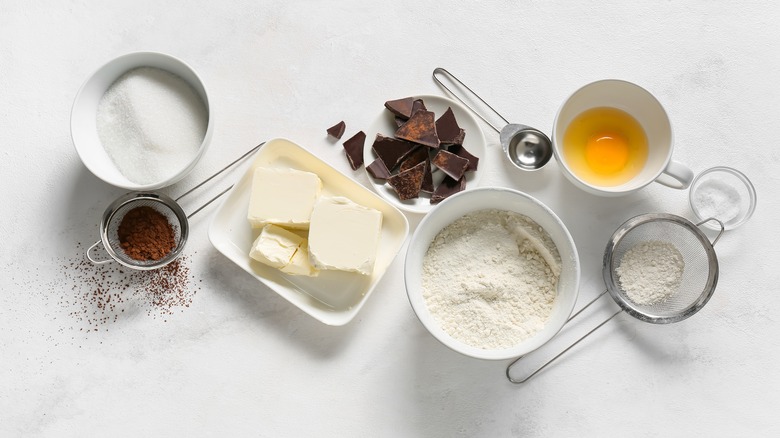
When you add milk, butter, cream cheese, or eggs to your cake batter, do you remove them from the fridge right before you're ready to use them? If so, you've been making a mistake that you'll want to remedy the next time you bake a cake. Refrigerated ingredients should be given time to come to room temperature before they're added to the bowl.
There are actually several reasons why planning ahead to remove these ingredients from the fridge is a good idea. First, if the ingredients are cold, they aren't going to form an emulsion when they are beaten. This means the resulting cake will be too dense rather than light and airy. Starting with room temperature ingredients will also help everything combine evenly for a smoother batter — think about how hard cold butter is and how difficult it will be to mix in. With room temperature ingredients, the batter will also all be the same temperature. This can help ensure even baking in the oven.
Not properly measuring the ingredients
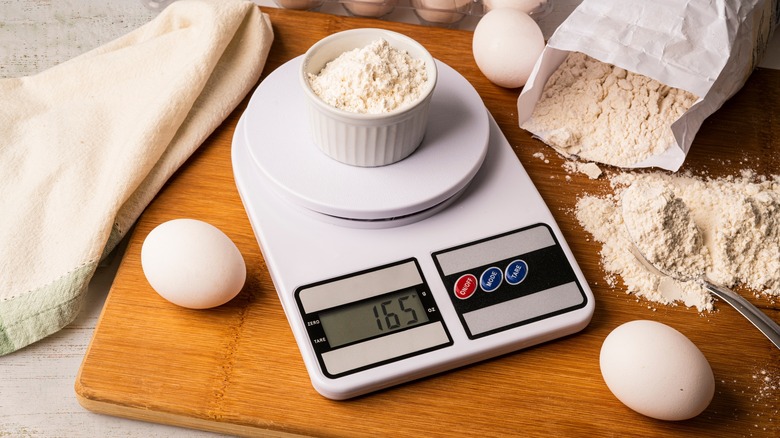
Knowing how to properly measure ingredients is crucial when baking. Adding too much or too little of one ingredient (or multiple ingredients) can have a dramatic impact on the way your cake turns out. Too much flour and it may be too dry. Too much liquid and it won't rise properly. When adding teaspoons, tablespoons, or fractions thereof, always use a measuring spoon of the proper size (don't try to eyeball it by using a bigger size and just add a "little" less). The measuring spoons should be level (i.e., filled all the way to the top, but not overflowing).
Always use a liquid measuring cup for liquid ingredients. Place the measuring cup flat on the counter, give the liquid time to stop moving, and check it at eye level to ensure you've measured out the proper amount. Dry ingredients call for a dry measuring cup. Again, you want these measurements to be level to fill the cup precisely. You can use the back of a butter knife to level off the top and remove any excess. When measuring flour, the most precise method is to use a scale. One cup of flour weighs approximately 4.5 ounces (or 125 to 130 grams).
Assuming ingredient substitutions won't require any accommodations
Have you ever read a cake recipe and thought, this sounds good, but I think I would like it more if I used chocolate chips instead of cocoa powder? Or, perhaps, you or a family member has allergies and need to use a substitute for ingredients containing nuts, gluten, or another allergen. In many cases, you can safely substitute one ingredient for another, but you'll often need to make a few accommodations in order to ensure that the cake turns out as desired.
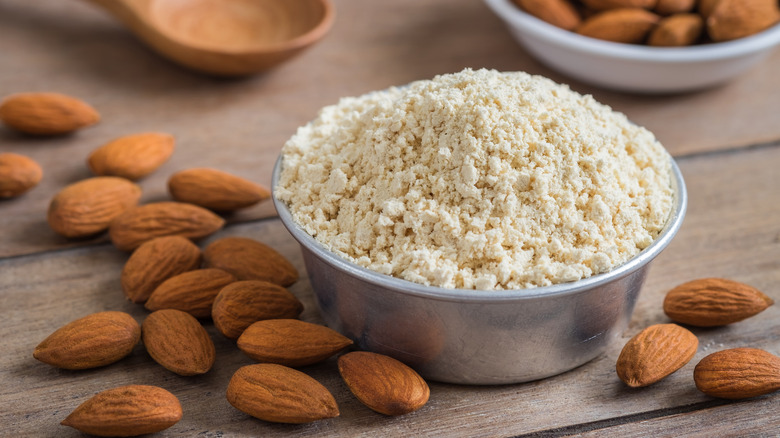
If you or another member of your family has Celiac Disease or needs to be gluten-free for other reasons, you'll have to take extra care when substituting ingredients. Unfortunately, gluten-free flour doesn't act the same in a recipe as regular flour. Simply substituting a cup for a cup will often result in an overly dry finished cake. Instead, add in additional moisture and try using blended gluten-free flour (with rice flour, potato starch, xanthan gum, and tapioca starch). Another tip is to increase your mixing time to get more air bubbles into the cake to help it rise properly.
Using expired baking powder or baking soda
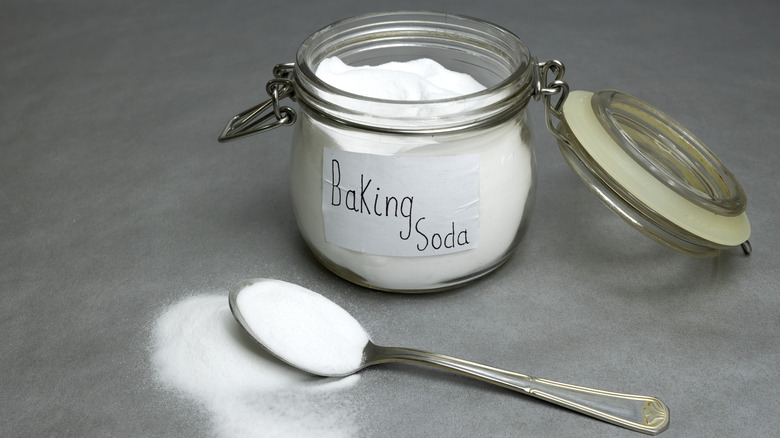
Unless you bake a lot, it is difficult to go through an entire container of baking soda or baking powder before it expires. Many people assume that continuing to use these ingredients after they expire isn't a big deal. And, while they're unlikely to make you sick once they're expired, they're also not going to help your cake turn out as desired. Baking powder and baking soda are leavening agents. That means that they help the cake batter to expand by releasing gasses into it as it bakes.
However, baking powder and baking soda only retain these "powers" for so long. Once they're expired, they become less effective at helping cakes rise. This means that you're taking the risk of dealing with a cake flop (literally) if you use them after the printed best-by date. If you're not sure whether your powders are expired, you can test them for efficacy. For baking soda, add a teaspoon of the powder to a bowl and pour a little vinegar over it. If it fizzes, then it is still good to use. To test your baking powder, add about ½ teaspoon of the powder to a bowl with ¼ cup warm water in it. If the baking powder is still good, you should also notice a reaction with lots of fizzing and bubbling.
Overmixing the batter

Another mistake you'll want to avoid when baking a cake is overmixing the batter. When mixing cake batter, you are supposed to stop when the ingredients are just combined. This means that you stop mixing once all of the ingredients are integrated together, and you don't see any clumps of flour, egg yolks, or other recipe additions.
If you keep mixing beyond this point, your cake is going to turn out too dense. When the batter is overmixed, the gluten (protein in wheat flour) will start to elasticize. When you bite into the finished cake, you'll immediately regret your mistake. Rather than the airy cake you were hoping to make, you'll be biting into one that is dense and gummy. Your cake may also sink a few hours after coming out of the oven, which will make it look far less attractive and could mess up the frosting. Overmixing is more likely to negatively impact the final cake if you're dealing with more delicate ingredients, such as whipped egg whites.
Forgetting to prepare the pan before adding batter
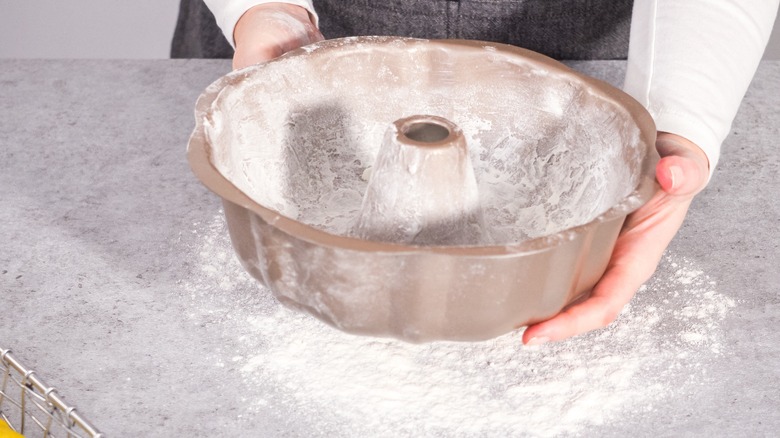
Don't make the mistake of pouring your cake batter into the pan without first preparing it. If you've ever read a cake recipe, then you probably already know that one of the first steps listed is often to grease the pan. Skipping this step — whether purposefully or inadvertently — can have dire consequences. Cake batter is much more likely to stick to an unprepared pan, which means that your cake may crumble when you try to remove it from the pan.
There are a few different ways to prepare a cake pan. You can choose whichever method you prefer; just don't skip this crucial step. The first option is to grease and flour the pan. Coat the pan — base and sides — with vegetable oil or butter, and then sprinkle a little flour over the grease. Tap the pan to spread the flour around so that it covers the sides and base of the pan. Another choice is to grease the sides of the pan (or grease and flour them) and line the base of the pan with parchment paper. This method can help ensure that there are no uncovered spots on the bottom of the pan where the cake is likely to become stuck.
Failing to confirm the oven temperature with an appliance thermometer
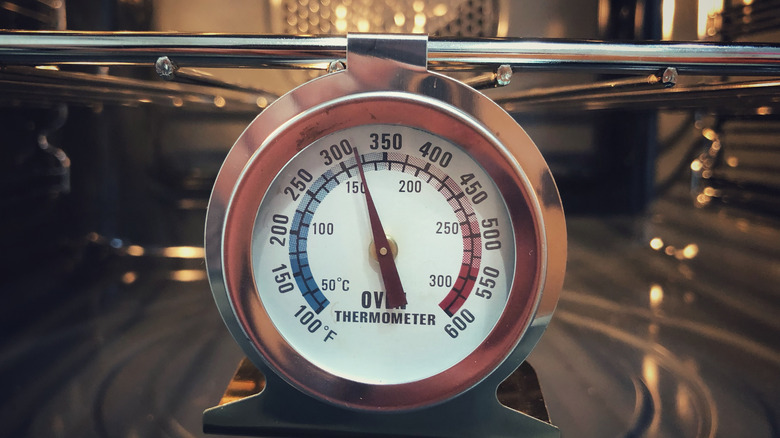
When you set your oven to 325 F to bake a cake, you can feel confident that the internal temperature precisely matches what you set, correct? Unfortunately, this is not the case. Many ovens are not properly calibrated, which means that the temperature you set is not the same as the actual temperature inside. It may be off by a few degrees (or sometimes more). While a few degrees difference may not seem like a big deal, it can dramatically impact how your cake turns out. If the oven is hotter than expected, the cake will end up baking more quickly and come out denser. If your oven is running cooler than expected, the cake will take longer to bake and may end up too dry.
The easy solution to this problem is to use an oven thermometer. Placing the thermometer inside the appliance will allow you to verify the temperature and adjust it before adding in your cake pans. Try to test a few spots in the oven to get a better feel for any hot spots. If you notice that the temperature displayed by the thermometer is far off from what you have the oven set to, it is probably a good idea to contact the manufacturer or hire someone to recalibrate the unit for you.
Not properly positioning the cake pans in the oven
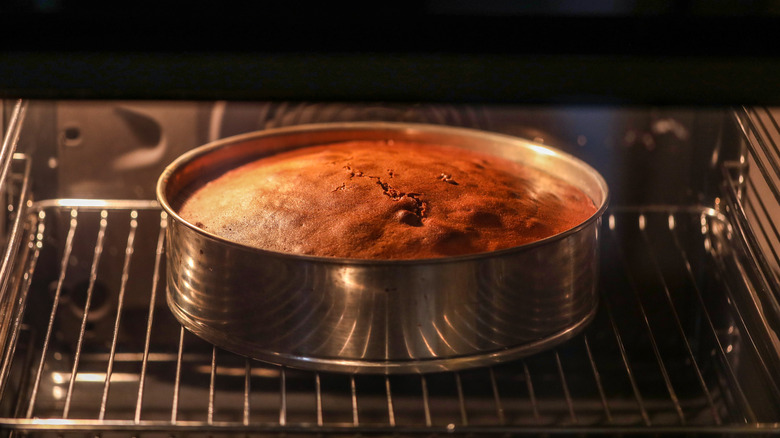
Once you're confident that your oven is properly set and ready to use, you can just put the cake pans anywhere that there is space, right? Sadly, this is yet another mistake that many people make when baking a cake. It is important to pay attention to where the rack is set and move it if necessary before adding your cake pans. The rack should be in the center of the oven. This ensures a more even distribution of heat and keeps the pans safely away from the heating element, which could cause them to bake too quickly.
In addition to making sure that the rack is properly positioned, you'll also want to rotate the cake pans to make sure they bake evenly. If you are baking a layer cake and have two pans in the oven together, switch their positions about halfway through the baking time. You will also want to turn the pans 180 degrees (half rotation) to make sure they're getting heated evenly. If you only have one cake pan, simply give it a half rotation at the midpoint in the baking process.
Under or over-cooking the cake
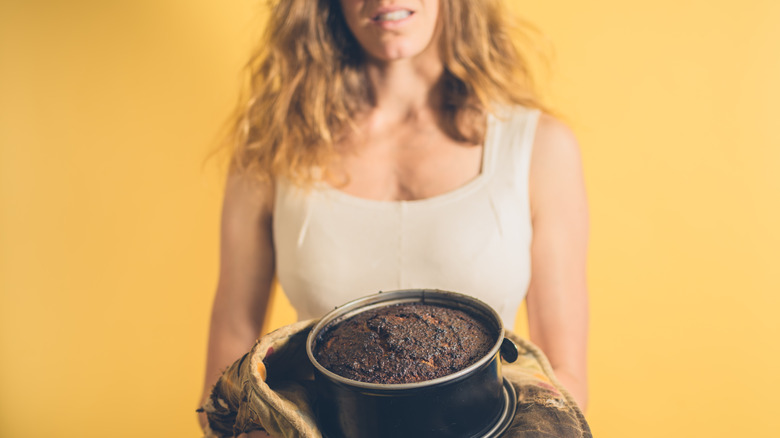
Cake isn't going to taste right if it is under or over-cooked. Cooking it to perfection is obviously the goal, but many people struggle with identifying exactly when a cake has finished baking and is ready to be removed from the oven. The bake time listed on the recipe can give you a general idea, but there are too many variables for cake baking to be an exact science.
One key sign that a cake has finished baking is the edges pulling away from the pan. This is a sign of the crumbs tightening, and you'll likely notice a slight gap along the edges of the pan. Before calling it a day and removing the cake from the oven, check for other signs of doneness. These can include a golden brown top (easier to spot on yellow or vanilla cakes than chocolate ones) and a fragrant aroma. You can also test for doneness by inserting a toothpick into the cake and seeing whether it comes out clean or wet. If wet, the cake still needs a few minutes to finish baking. Some bakers rely on a spring test instead of toothpicks. Press on the center of the cake gently using just a finger or two. If the cake springs back up when pressed down, it is done. If you see a mark where you pressed your finger, give it a few more minutes to finish baking.
Opening the oven too many times

As the cake you're preparing bakes, it starts letting out a wonderful aroma. Your mouth may start to water thinking about how amazing it will taste. So, it's only natural to want it to finish baking so you'll be able to enjoy it. However, what you don't want to do is open the oven too many times to check on its progress. Every time you open the oven, it lets cold air in. The internal temperature can drop dramatically — potentially by as much as 50%. This will slow down the baking process and may also result in a collapsed cake.
Instead, you'll need to exercise patience. Use the oven light to check on the status of your cake. When you think it is looking done, have your toothpick or cake tester handy so you can quickly check for doneness to minimize how long the door is left open. If the cake hasn't actually finished baking, try to leave the door shut for at least five minutes before checking it again to help prevent the introduction of too much cold air all at once.
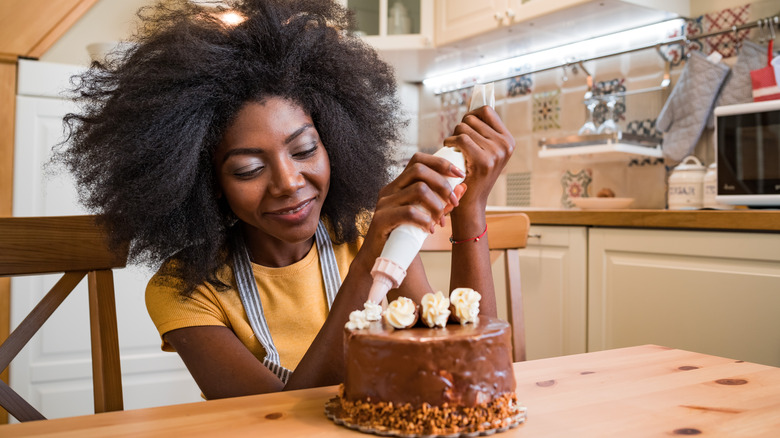
Frosting the cake before it cools completely
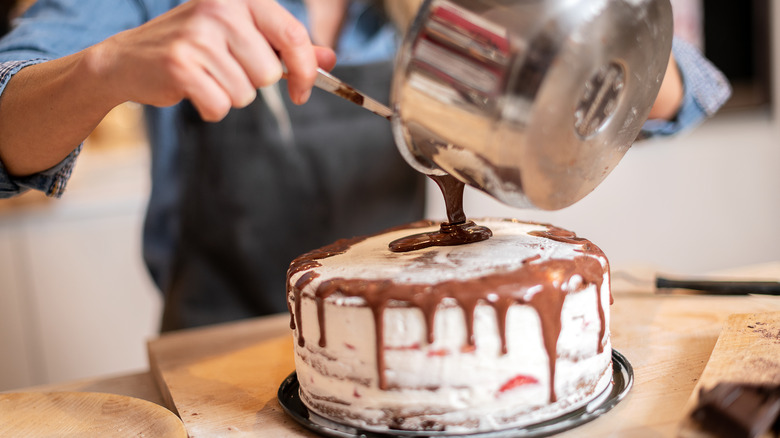
Don't let the anticipation of that first delicious bite of your homemade cake let you make the mistake of frosting it too soon. You must not frost your cake before it has cooled completely. First, if you try to frost your cake when it is too warm, it is going to heat up your icing. This will make the icing melty and runny, leaving you with a sloppy mess instead of that beautifully decorated cake you were hoping for.
Applying frosting to a cooled cake is also much easier. When the cake is still warm, it is much more fragile. This means that if you try to frost it, it is much more likely to crack or crumble underneath your spreader. Instead of rushing, aim to give the cake a minimum of two hours to cool before attempting to frost it. If you're really tight on time, once the cake has set for at least 10 minutes in the pan, flip it over onto a cooling rack and put the cooling rack into the refrigerator or freezer to speed up the process.
Not leveling multi-layer cakes before frosting them
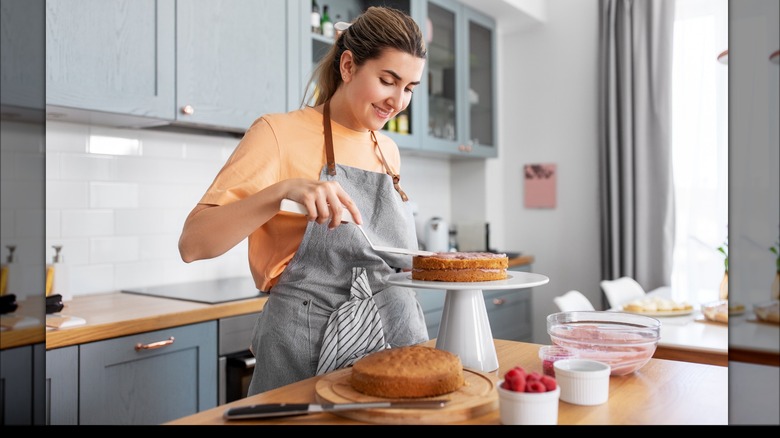
If you're making a layer cake, there is one additional step that you should not skip before adding any icing. The layers must be leveled. When you remove your cake pans from the oven, you should notice that each one has a slightly domed top. If you don't level the cakes before trying to assemble the layers, then they aren't going to sit flat. This can result in the upper layers sliding — or, even worse, cracking.
Fortunately, these potential crises can be averted by leveling the top of each cake. Before trying to level the layers, allow them to cool completely. Then, carefully slice the top dome off a long, serrated knife. To do this, you'll want to cut in about 1 inch on the side you start, then turn the plate about 45 degrees and perform the same 1-inch cut. Continue this process until you've worked your way around the whole layer; then you can carefully cut off the middle section.