6 Mistakes You're Making When It Comes To Banana Bread
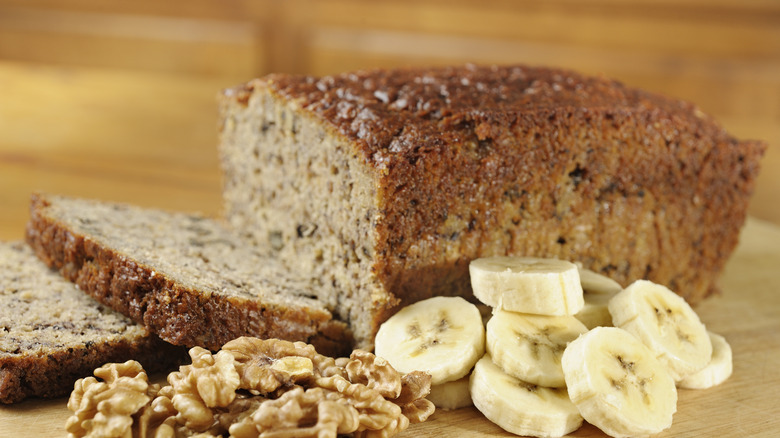
Few baked goods summon feelings of cozy comfort quite like banana bread. Moist, fragrant, and full of sweet banana flavor, the quick bread is a staple in the repertoire of professional and amateur bakers alike. Aside from the taste, part of the appeal of banana bread is how uncomplicated it is to make. Unlike yeast breads that require meticulous proofing, kneading, and rising, banana bread comes together in just a few steps with inexpensive ingredients. Served on its own or with additional mix-ins like chopped nuts and chocolate chips, banana bread makes a crowd-pleasing breakfast, dessert, or snack for any time of day.
Making banana bread might be easy, but it isn't entirely foolproof. If you've ever followed a banana bread recipe only to end up with a loaf that's gummy, tough, or flavorless, you might have fallen prey to some of these common mishaps. Here's what you might be doing wrong — and what to do instead to elevate your banana bread game to the next level.
Using under ripe bananas
Bright yellow, firm bananas might be great for snacking, but they're less than ideal for banana bread. You'll get superior results if you use over-ripe brown or even black bananas instead. Why? Bananas produce more sugar and moisture as they ripen, which in turn makes your banana bread tender, sweet, and flavorful. This is fantastic news if you want to reduce your food waste: Next time your bananas are too brown for your morning parfait, use it as an excuse to treat yourself to a loaf of freshly baked banana bread instead.
You can even stash those black bananas in the freezer and use them for later. Thaw frozen ripened bananas at room temperature before using them in a banana bread recipe. As frozen bananas thaw, they'll become soft and pulpy, perfect for mixing into a batter.
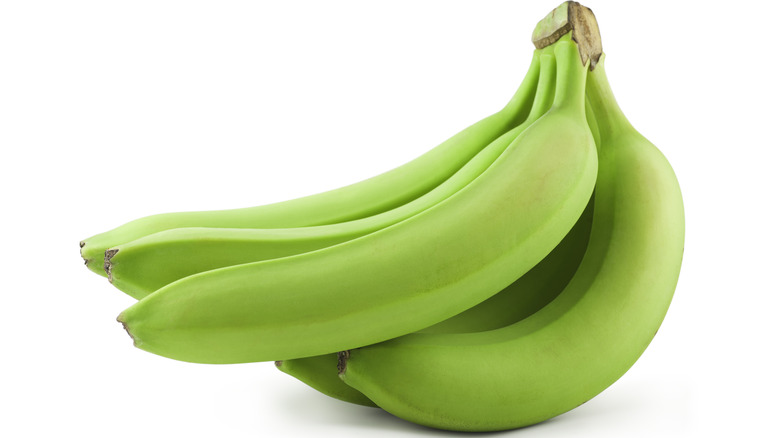
If a banana bread craving strikes while your bananas are still firm and green, you can speed up the ripening process by storing bananas in a warm place. For the fastest ripening, heating unpeeled bananas the oven does the trick. The oven method brings out as much sweetness as natural ripening in just 20 minutes.
Using cold eggs
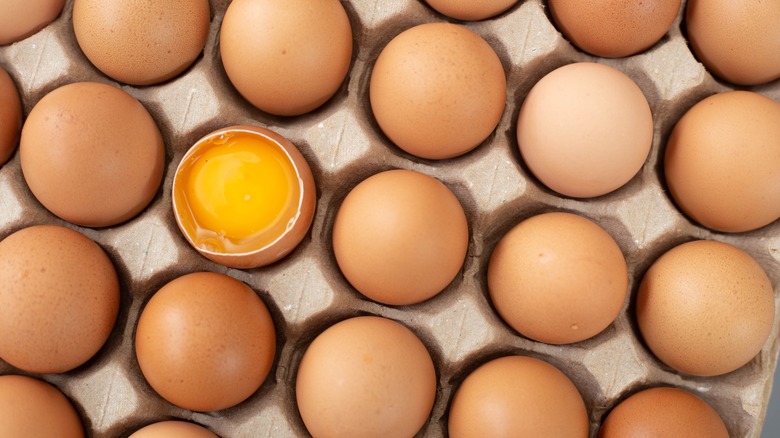
Most bakers know that eggs play an important role in baked goods like banana bread. Along with binding ingredients together, eggs give volume and structure to banana bread through a process called emulsification. What's far less common knowledge is that the temperature of your eggs matters, too. At room temperature, eggs emulsify beautifully when beaten, whipping pockets of air into your batter. Those air pockets give your bread a fluffier texture.
Ice-cold eggs are much more difficult to blend with other ingredients in the batter. This interferes with the essential emulsification and binding processes, leading to banana bread that's dry, crumbly, flat, and downright disappointing. Avoid this common error with a little bit of planning. Take your eggs out of the refrigerator for about 30 minutes before you assemble the banana bread batter. You'll notice that the room-temperature eggs are a breeze to mix and that the finished bread has the perfect amount of structure.
Over mixing the batter
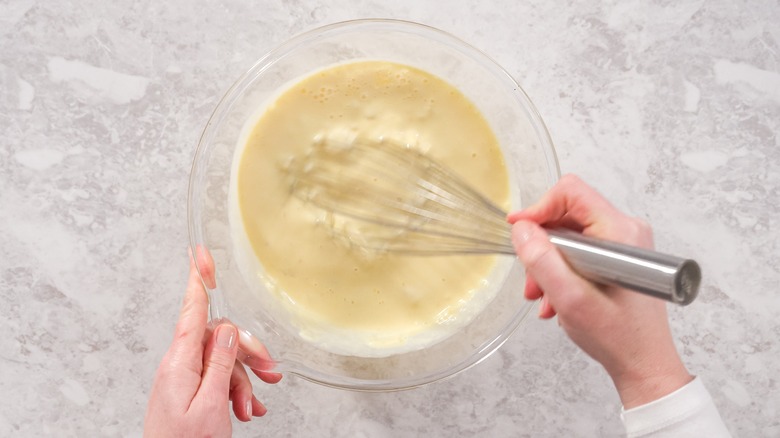
Is your banana bread chewy or rubbery on the inside? Chances are good you're being a little too zealous with your mixing spoon. When flour is combined with liquid it forms gluten strands, the proteins that provide substance and structure to banana bread. Some gluten is essential but, the more you mix, the longer those gluten strands become. Mix even slightly too much and you wind up with a banana bread that's tough and gummy rather than soft and tender.
It's easy enough to avoid this error with a little careful attention. Using a wooden mixing spoon or hand-held whisk (rather than an electric mixer) gives you more control over the finished product. Mix the batter until no large clumps of flour are visible. While you want to distribute the batter evenly, don't stress about making the batter velvety smooth. Any tiny remaining lumps of flour will settle and dissolve into the bread as it bakes.
Using the wrong loaf pan
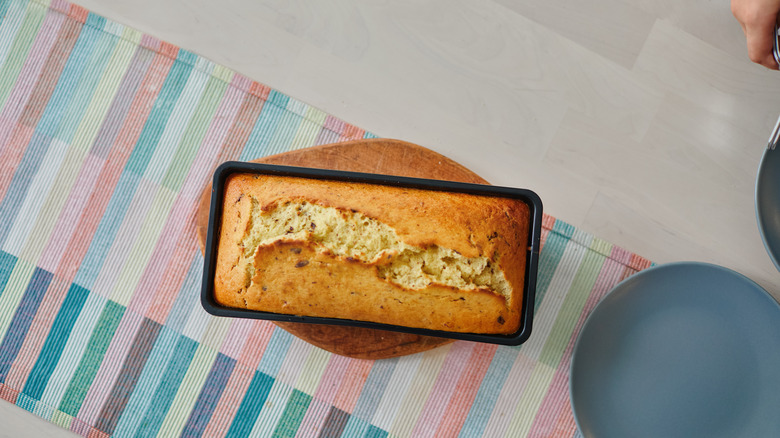
When you're following a banana bread recipe, it's easy to skim over the little details like what size loaf pan to use. After all, a loaf pan is a loaf pan, right? The truth is that bread loaf pans can vary quite a bit in depth, width, and length. All of these factors play a role in determining the amount of baking time your banana bread will need. If your loaf pan is too small or shallow, you're likely to face a couple of issues. In many cases, the top of the banana bread will brown before the inside bakes through. This can lead to banana bread that's burned on the edges and runny on the inside. In other cases, the batter will spill over the top of the pan as the bread bakes creating a frustrating mess. Using a larger loaf pan results in a thinner loaf of banana bread that cooks more quickly and is more prone to burning or drying out.
Most banana bread recipes will specify what size loaf pan you should use. If your recipe doesn't mention a particular size pan, using an 8½ x 4½-inch loaf pan is your best bet. This is considered the standard loaf pan type for the vast majority of quick bread recipes, including banana bread.
Leaving banana bread in the pan too long after baking
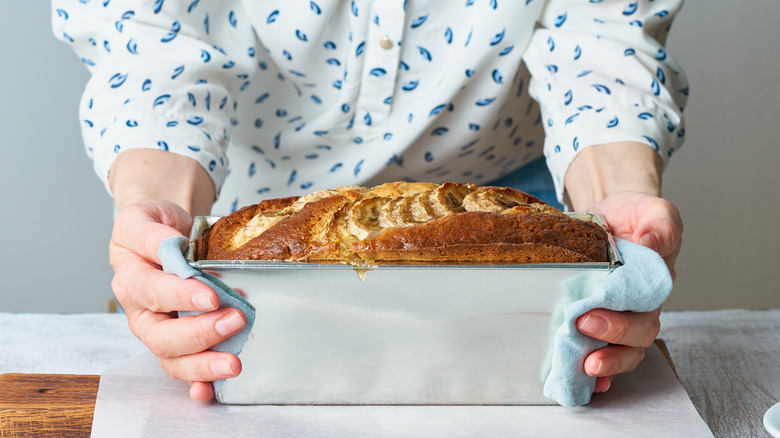
Most of us know better than to try to remove banana bread from the pan while it's still piping hot. After baking, banana bread needs a little bit of time to settle in the pan to become cool enough to remove. Try to turn it out of the pan too soon and your warm loaf will break or crumble. To prevent this, some bakers are tempted to leave their banana bread in the pan for its entire cooling time. But as it turns out, leaving banana bread in the pan for too long after baking can be just as disastrous as removing it too soon. The hot pan slows down the bread's natural cooling process, trapping steam inside your soft, fluffy loaf. Left long enough, that steam condenses and turns your perfect loaf into a soggy slop.
The key is finding the right balance. After you take your fresh loaf of banana bread out of the oven, leave it in the pan for about 15 minutes. At this point, the bread should be cool enough to flip out onto the counter without falling apart. Give your bread another 30 to 45 minutes to finish cooling outside of the pan before cutting off your first sweet slice.
Slicing banana bread from the ends
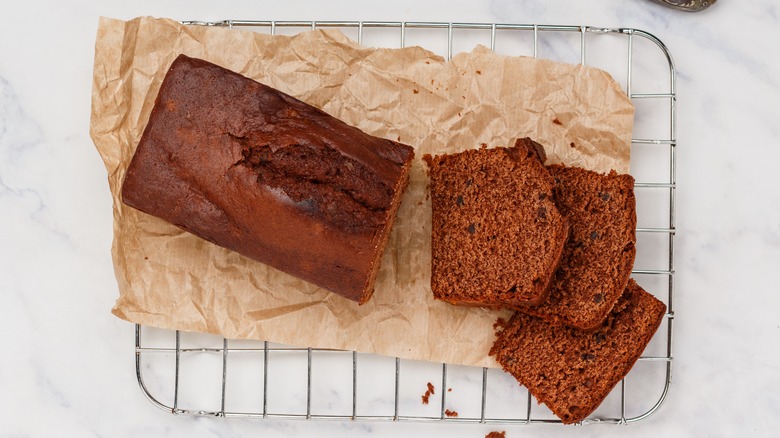
The wait is over and it is time for the best part of making banana bread — eating it. Before you slice up your freshly baked banana-filled loaf, consider where to make that first cut. Most bakers slice their banana bread from one end. This leaves the inside of the bread exposed to air on the cut side causing it to become dry within a matter of hours.
To keep your banana bread fresh, slice the loaf from the center instead. This method involved making two incisions right in the center of the loaf. This creates one thick slice you can enjoy right away and divides the loaf in half. If you won't be serving or eating the rest of the bread at that moment, press the remaining halves together. This will lock in moisture and prevent the insides of your bread from drying out.
